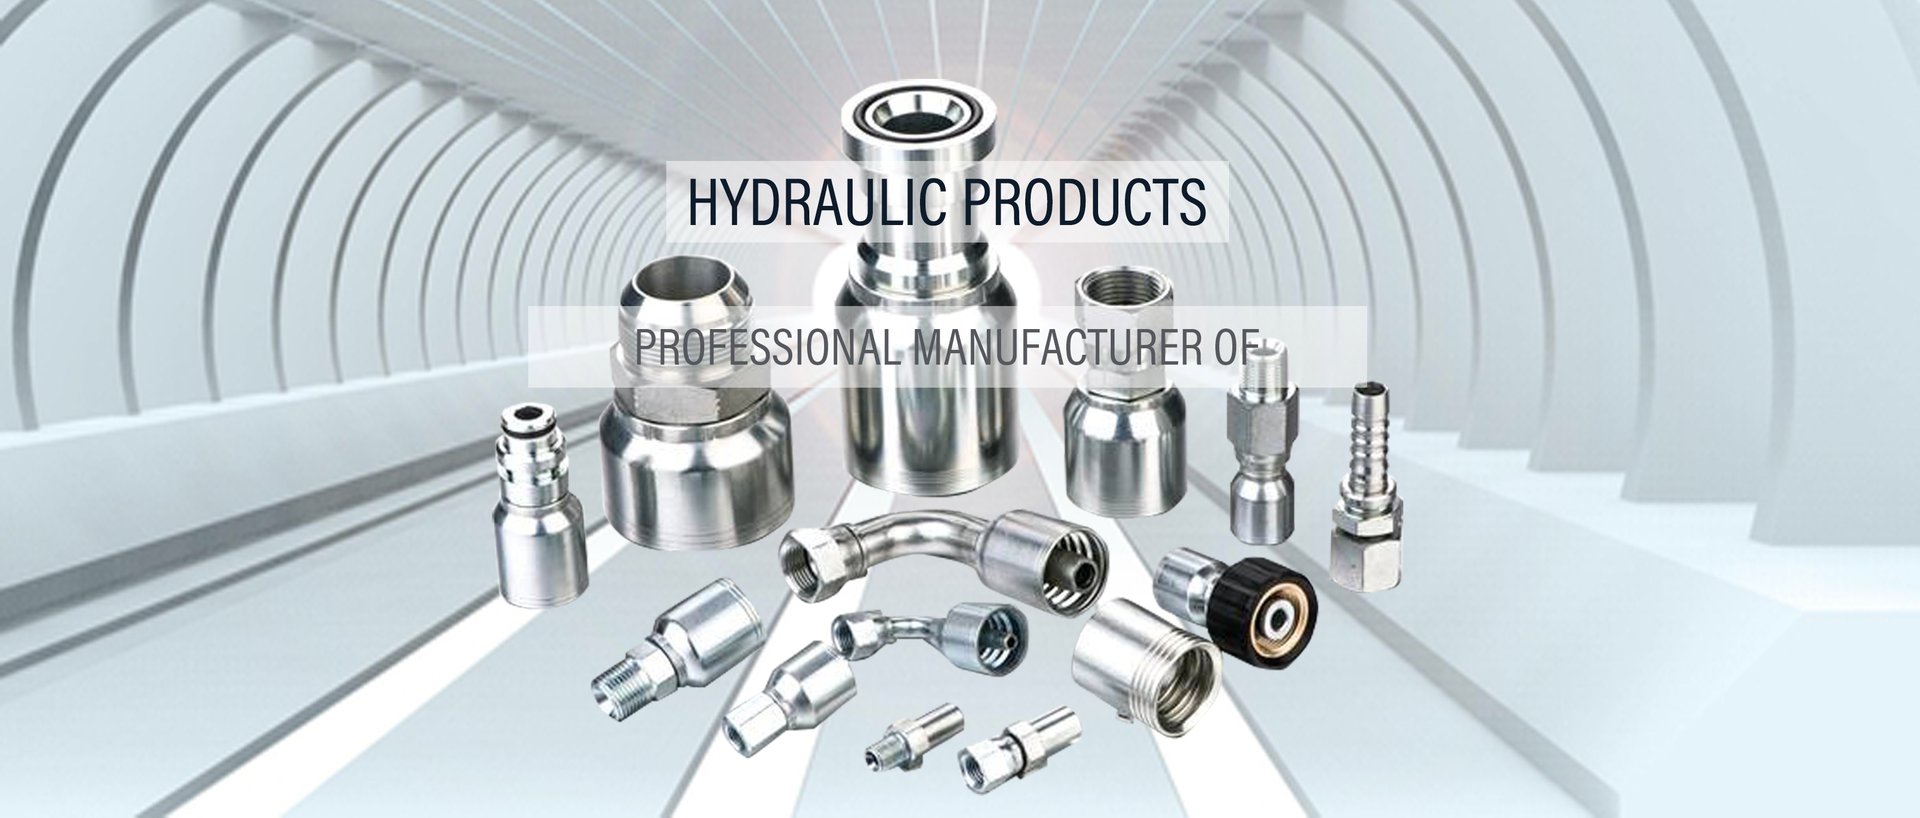
One stop hydraulic hardware product service provider Rotary Joint HYDRAULIC HOSE HOSE FITTING
HOW TO REPLACE HYDRAULIC HOSE FITTINGS?
HYDRAULIC FITTING
2 min read


As an important part of connecting hoses and equipment, hydraulic hose joints may be damaged or aging during long-term use. In this case, replace the connector in a timely manner to ensure the normal operation of the device and avoid potential security risks.Replacing hydraulic hose joints is a critical task that ensures the integrity and functionality of hydraulic systems. Here’s a detailed guide on how to effectively replace hydraulic hose joints.
Step-by-Step Guide to Replace hydraulic hose joints
1. Gather Necessary Tools and Materials
- Tools:
Hydraulic hose cutter/Crimping machine or hand crimper/Wrenches (adjustable and fixed)/Thread sealant or tape/Clean rags
- Materials:
New hydraulic hose joints/Hydraulic hose (if needed)
2. Safety Precautions
- Ensure the hydraulic system is depressurized before beginning work to prevent accidents.
- Wear appropriate personal protective equipment (PPE), such as gloves and safety glasses.
3. Remove the Old hydraulic hose joints
- Identify the Type of hydraulic hose joints: Determine if the hydraulic hose joints is crimped or reusable. This will dictate how you proceed with removal.
- Cut the hydraulic hose joints (if crimped): Use a hydraulic hose cutter to cut the hose close to the hydraulic hose joints if it is crimped. Ensure the cut is clean and straight to avoid contamination.
- Unscrew the hydraulic hose joints (if reusable): If the hydraulic hose joints is reusable, use a wrench to unscrew it from the hose or assembly.
4. Prepare the New Hose and Fitting
- Measure and Cut New Hose: If replacing the entire hose assembly, measure and cut the new hydraulic hose to the required length, ensuring a clean cut.
- Select Appropriate hydraulic hose joints: Choose a fitting that matches the specifications of your system, considering factors like size, material, pressure rating, and compatibility with existing components.
5. Attach the New hydraulic hose joints
- Insert the hydraulic hose joints: Push the fitting into the end of the hose until it reaches the insertion mark (if applicable). Ensure it is fully seated.
- Crimping (for crimped fittings):
- Place the hose and hydraulic hose joints into a crimping machine, aligning them according to manufacturer specifications.
- Adjust the crimper to match the diameter of the hydraulic hose joints and perform the crimping operation, ensuring a secure connection.
6. Tighten Connections
- For threaded fittings, apply thread sealant or tape to ensure a leak-free connection.
- Use wrenches to tighten hydraulic hose joints securely but avoid over-tightening, which can damage components.
7. Conduct Final Inspections
- Inspect all connections for proper alignment and tightness.
- Check for any visible signs of leaks or damage before re-pressurizing the system.
8. Test the System
- Gradually reintroduce hydraulic pressure while monitoring for leaks at all connections.
- Conduct a pressure test to ensure that all hydraulic hose joints are secure and functioning correctly.
Precautions
When replacing the hydraulic hose joints, we also need to pay attention to the following:
1. When replacing the hydraulic hose joints, ensure that the device is in a safe state to prevent accidents during operation.
2. When removing and installing hydraulic hose joints, keep the interfaces and sealing gaskets clean to avoid leakage caused by impurities.
3. Check the connection of the hydraulic hose joints regularly. If loose or leaking is found, it should be handled in time.
By following these steps, you can effectively replace hydraulic hose joints, ensuring your hydraulic system operates safely and efficiently. Regular maintenance and inspections will further enhance system reliability.


