One stop hydraulic hardware product service provider Rotary Joint HYDRAULIC HOSE HOSE FITTING
how to tighten metal hose clamp
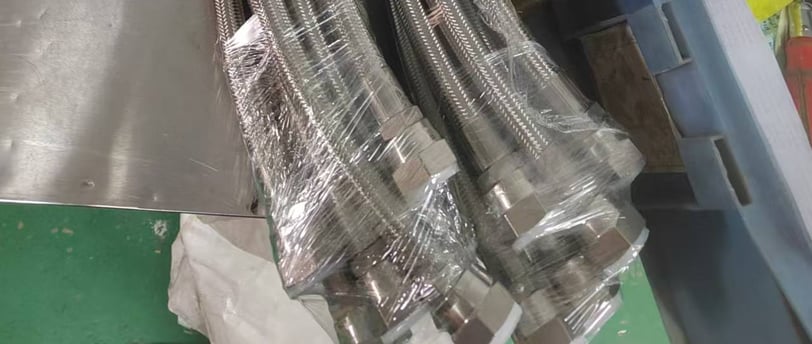
metal hose
1/7/20251 min read


Tightening a metal hose clamp is a straightforward process, but it's important to do it correctly to ensure a secure and leak-free connection. Here are the steps you should follow:
Check Fitment: Before tightening the hose clamp, make sure that the metal hose fits properly over the fitting or pipe. The metal hose should sit snugly without being stretched too tight.
Position the hose Clamp: Place the metal hose clamp around the hose and fitting so that it sits evenly around the circumference. Ideally, the hose clamp should be positioned about 1/4 inch (6 mm) away from the end of the hose to avoid damaging the edge of the metal hose with the hose clamp.
Initial Tightening: Use a flathead screwdriver or the appropriate tool for your hose clamp type to start tightening the hose clamp. Turn the screw clockwise until it is snug but not overly tight. This initial tightening ensures that the hose clamp is seated properly on the metal hose.
Final Tightening: Once the hose clamp is snug, continue turning the screw clockwise until the hose clamp is tight enough to prevent leaks. Be careful not to overtighten as this can damage the metal hose or the hose clamp. If the metal hose is carrying fluids under pressure, it may require a higher level of tightness.
Check for Leaks: After tightening, inspect the connection for any signs of leaks. If you notice any leaks, slightly loosen the hose clamp, reposition if necessary, and then retighten.
Recheck Tightness: Over time, the metal hose may settle or the hose clamp may loosen due to vibration. It's a good idea to check the tightness of the hose clamp periodically, especially in applications where vibration is present.
Remember that different types of hose clamps (e.g., worm drive, ear-type, spring clamps) may have slightly different methods for tightening. Always refer to the manufacturer's instructions for specific guidance.


